
Below is a step-by-step guide on adding a new resident. The flow is the same whether it is a leasing agent adding the resident or an internal team member.
Selecting/Creating a Unit for the Resident
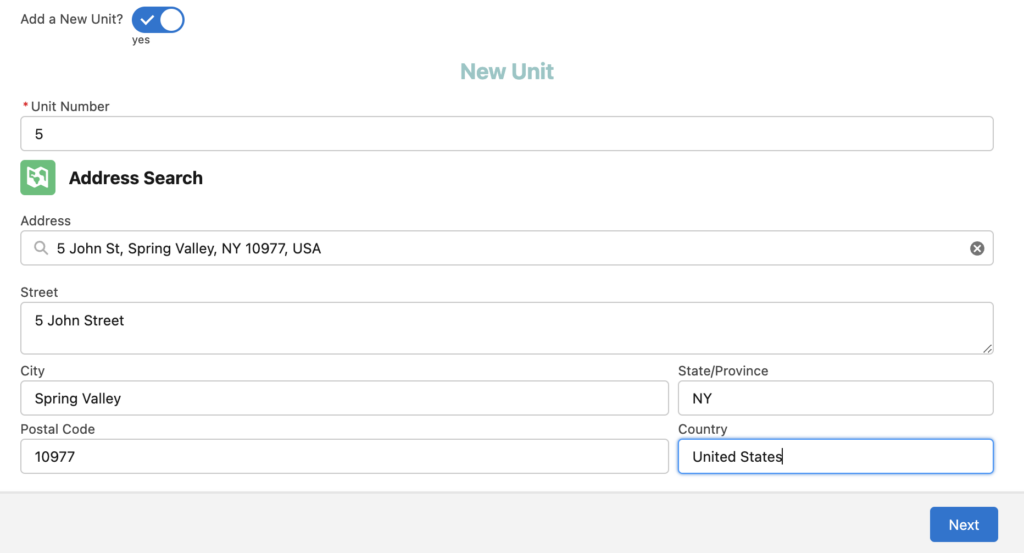
The first step when adding a new resident is either selecting a unit from the dropdown (these are units someone at the property or on the AVA team has previously created) or creating a new unit if the unit you are needing is not in the dropdown.
Enter Resident Main Screen
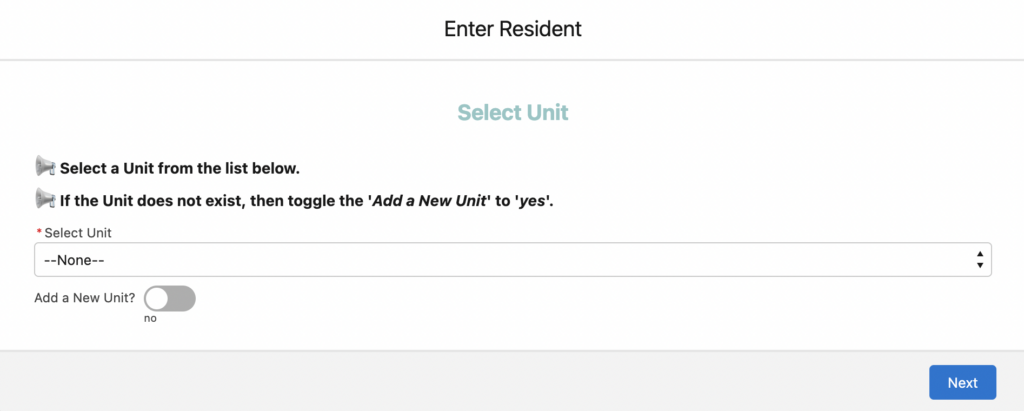
Unit Selection Dropdown

Unit Creation Screen
Entering the Residents’ Information
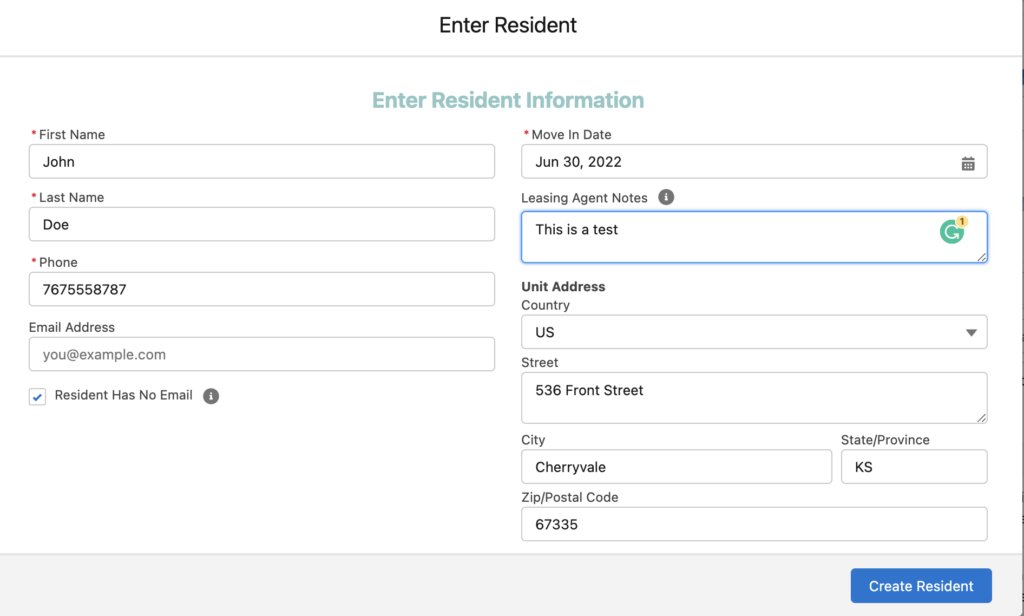
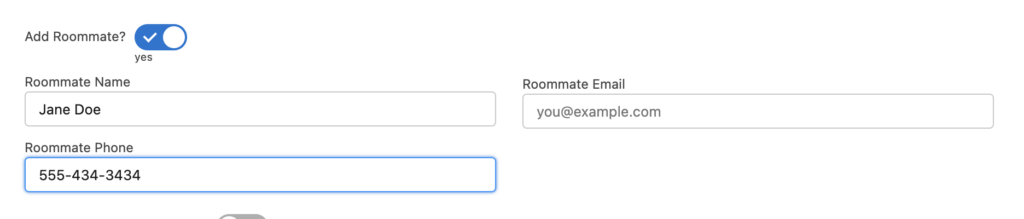
This step is where you fill out the residents’ information. This includes contact information, roommate info if available, and set contact preferences.
Add a Roommate Screen
Edit Contact Preferences Screen

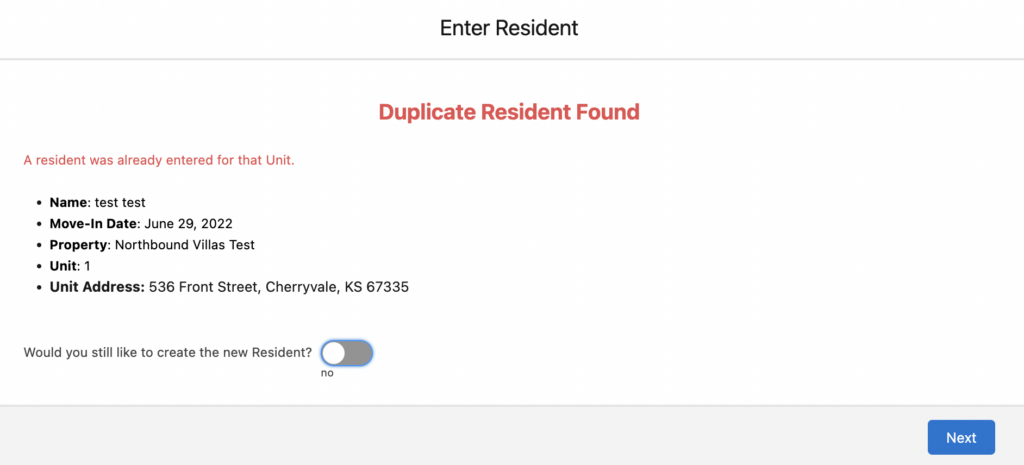
When a Duplicate resident is Found
When a resident has already been added to a unit, the below pop-up will appear. This pop-up is there to ensure the user actually wants to add the resident into the unit and is not adding a duplicate. If they move forward with adding the new resident, it does not delete the old residents’ information, it will still be accessible in AVA it will just be tagged as moved out.
Congrats, You Created a New resident
Once you or the leasing agent have gone through these screens you will finish by clicking, ‘Create New Resident’ and the resident will be submitted. Within 15 minutes they will receive an email from AVA.